Edit session as the host (cancel, reschedule, or schedule next session)
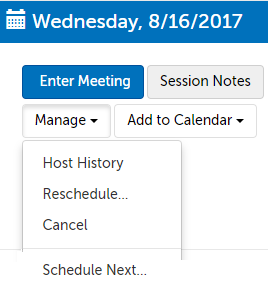
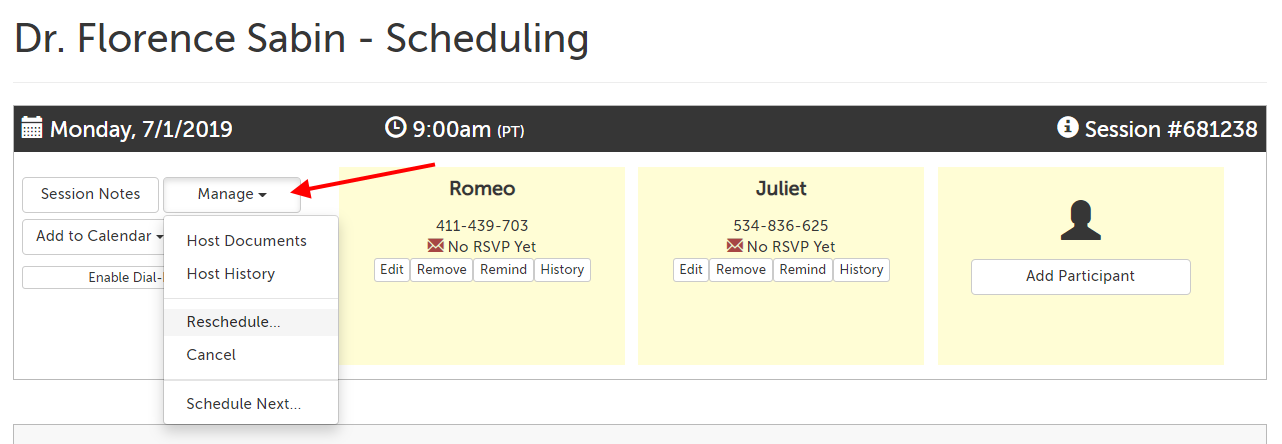
On the left-hand side of the session you want to edit, click on "Manage" for the following options:
- Reschedule: Reschedule the session for a new date/time. (Automatically sends reschedule notices.)
- Cancel: Cancel the session. (Automatically sends cancellation notices. The session won't count as billable unless you've already connected to it with your participant.)
- If it has been more than 5 minutes since the session start time, this will read as Remove instead. "Remove" will remove the session from you dashboard without sending any cancellation notice.
- Schedule Next...: Schedule another session with the same participants and settings. The date will pre-populate as 7 days from the time of this session, but you can change the date and/or time before clicking to Save.
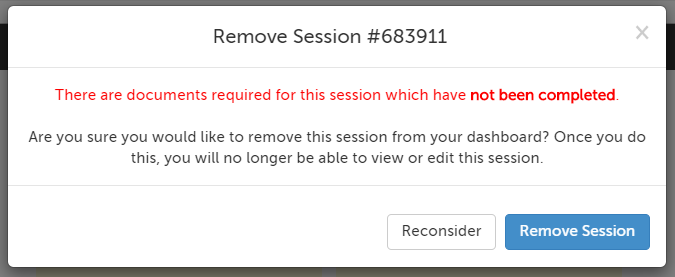
Note: If a session still has documents required to be filled out, that were not filled out, the session will not be automatically removed as other old sessions are removed. If you want to cancel or remove a session that has unsubmitted, required documents, there will be additional red text on the confirmation message:
Edit session participants as the host
Add participant as the host
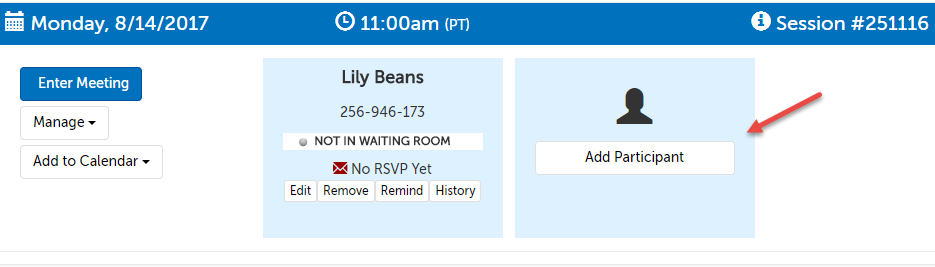
1. Use the "Add Participant" button (to the right of every scheduled session).
2. Enter the participant's information.
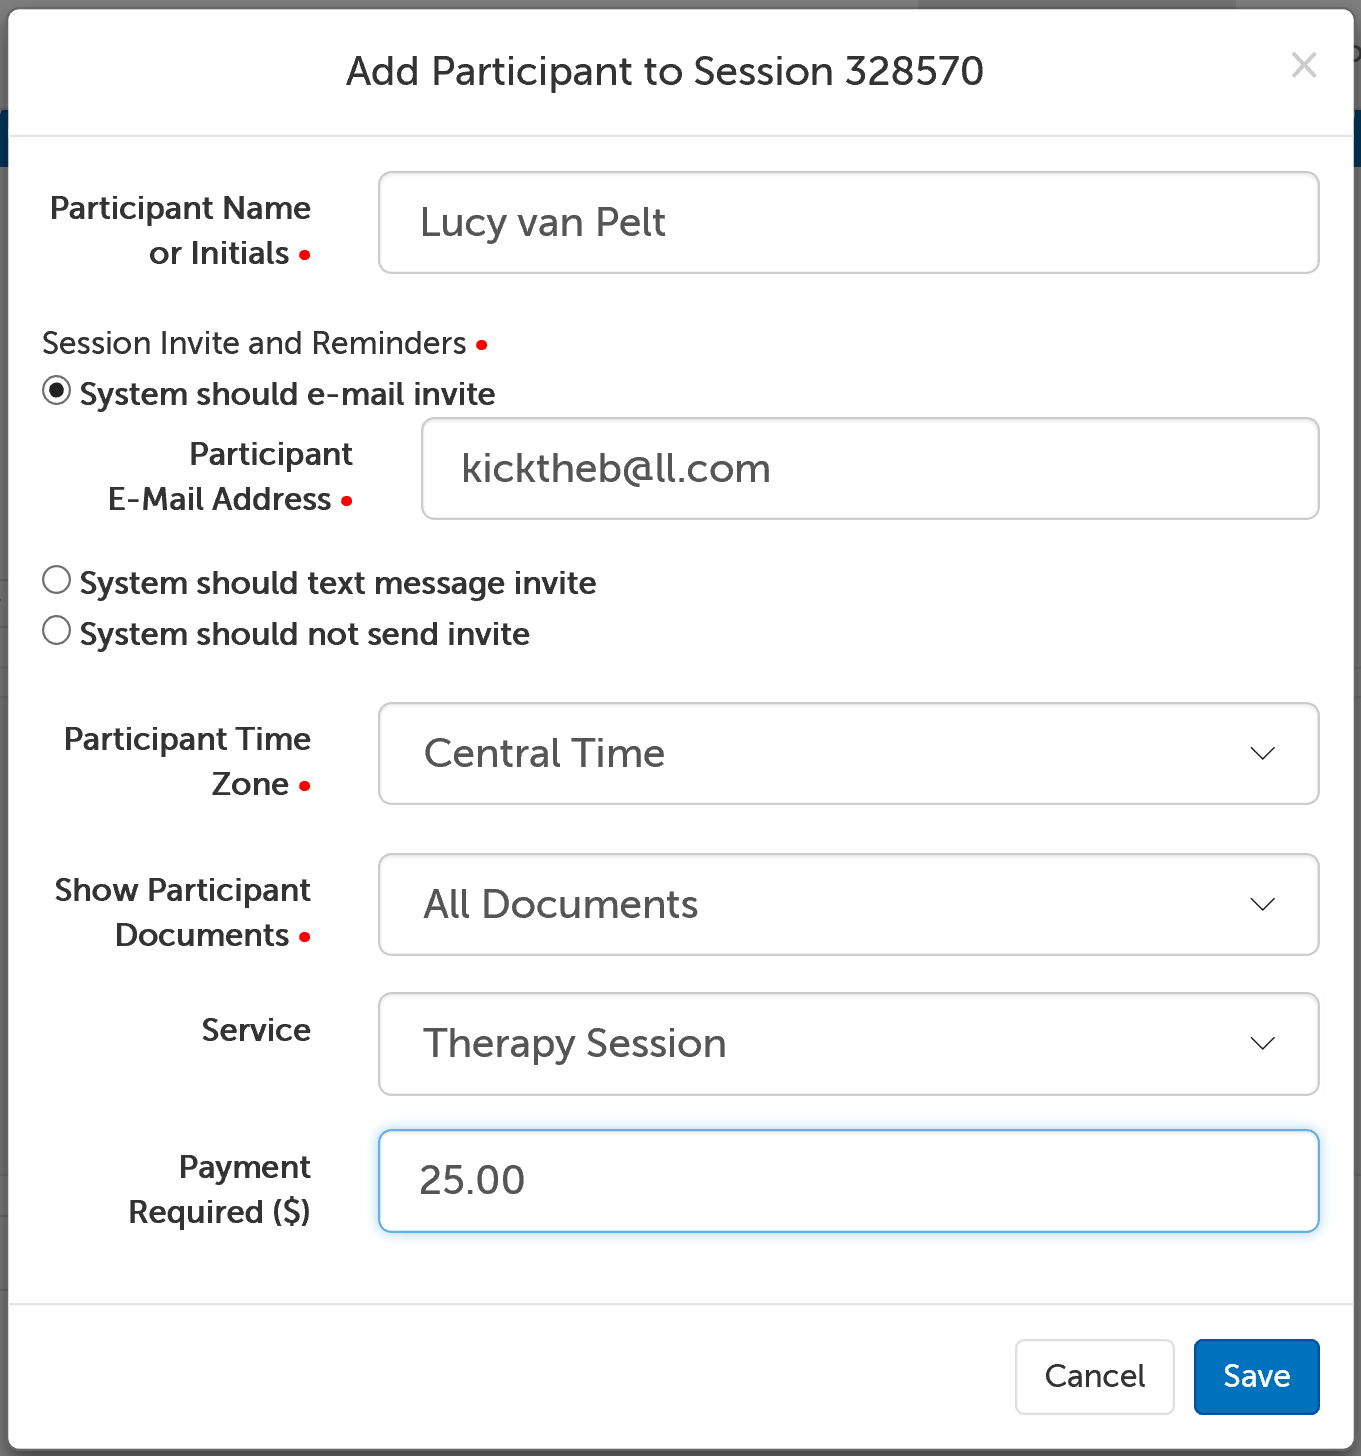
- Participant Name or Initials: Enter the name of the invitee (minimum of 2 characters). If you have saved this person in your Contacts list, their name should appear as an autofill once you being typing.
- Session Invite and Reminders: Select the desired type, and a field will appear for the contact information required. Any contact information saved for this contact will pre-populate. If you would not like to enter contact information for this person, select System should not send invite.)
- Participant Time Zone: Choose the time zone your participant is in--this determines the time and date that will be used for their invitation and reminder e-mails or texts (this defaults to the time zone on your account).
- Show Participant Documents: If you have at least one active E-Document, you will see this question.
- Select "All Documents" to show all active documents to this participant.
- Select "No Documents" to NOT show any documents to this participant.
- If you have created a custom packet, you can select it to show that specific group of documents to this participant.
- Service: If you have an Account Service set up and have connected a Stripe account to your SecureVideo account, you will also see the ability to associate a service with this participant for this session.
- Payment Required ($): This field will autopopulate with the selected Service's default payment amount, but you can change this amount.
3. Use the Save button in the lower right-hand corner.
Edit participant info as the host
1. Use the "Edit" button underneath the name of the session participant you would like to edit.
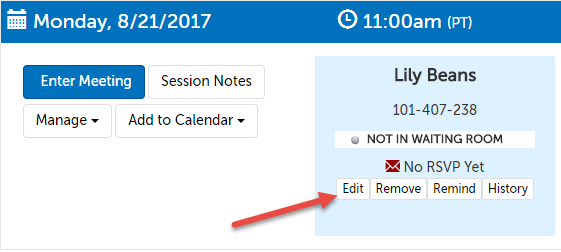
2. This will bring up the "Edit Participant Window". Change any information as needed. (Note: To change a participant's name or to view/edit their record note, you will need to use the Contacts page.)
3. Use Save button in the lower right-hand corner when done. (This will automatically update the contact's information in your account.)
4. If you have changed the participant's contact method/information, use the "Remind" button below their name to send a new invite/reminder.

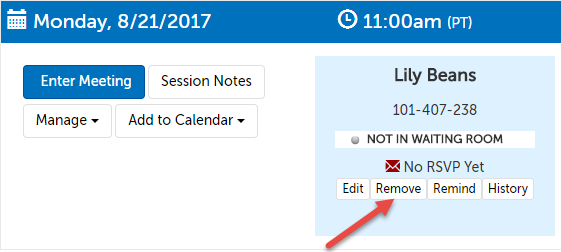
Remove participant as the host
1. Use the "Remove" button underneath the name of the session participant you would like to remove.
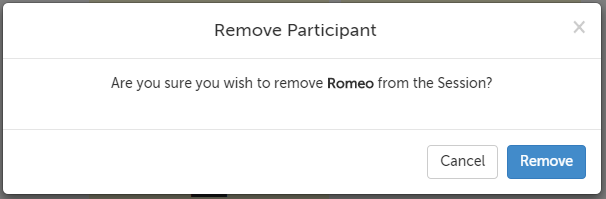
2. On the message that appears, use the "Remove" button to confirm you would like to remove this participant.
Edit session on behalf of the host
1. Log into your account on the website. You should have the Scheduler role.
2. Click on the Scheduling tab at the top of the page.

2. Click on the “Schedule” button in the same row as the user you want to edit the session on behalf of.
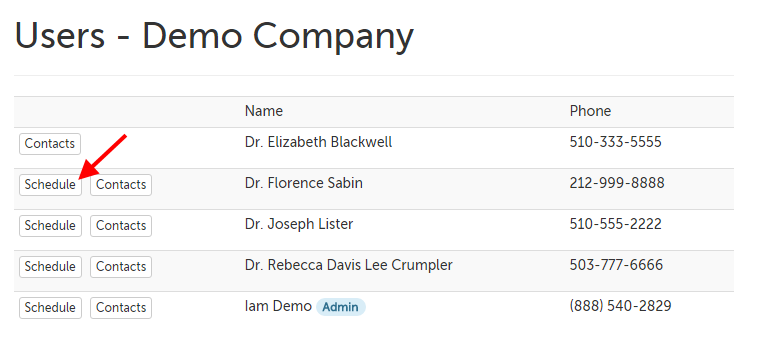
4. You will land on the user's scheduling dashboard (noted along the top). From here, you can edit sessions as though you are the host, using the instructions above. (Note: you will not be able to connect to the host's sessions.)
This article was last reviewed by our Support team on June 11, 2019.