Session does not require credit card payment
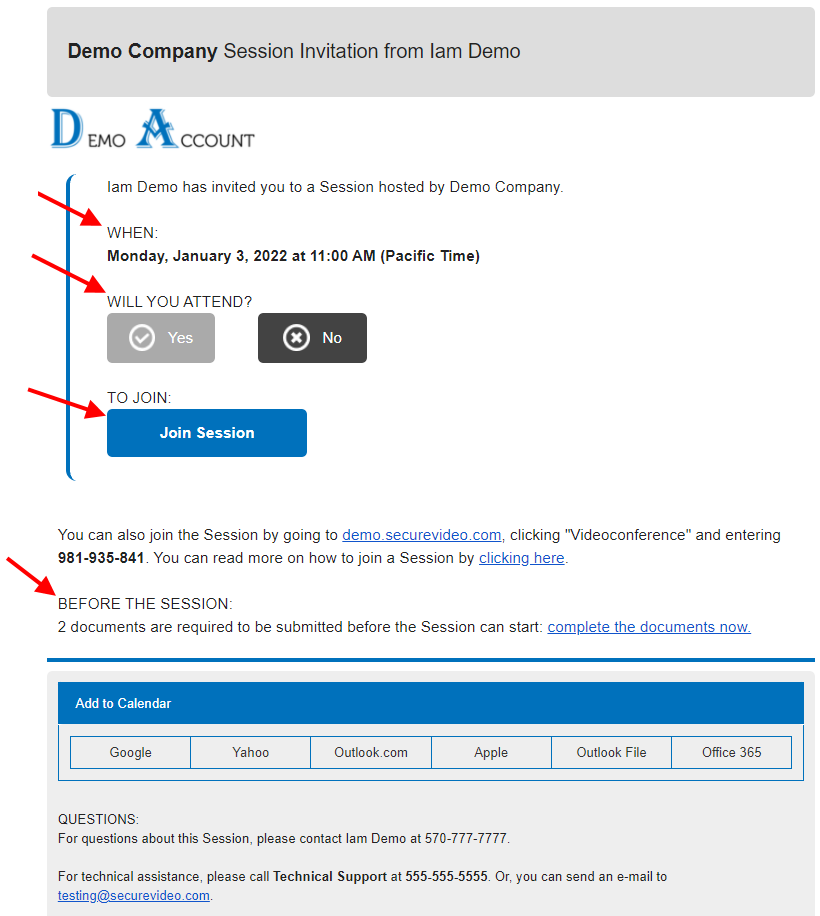
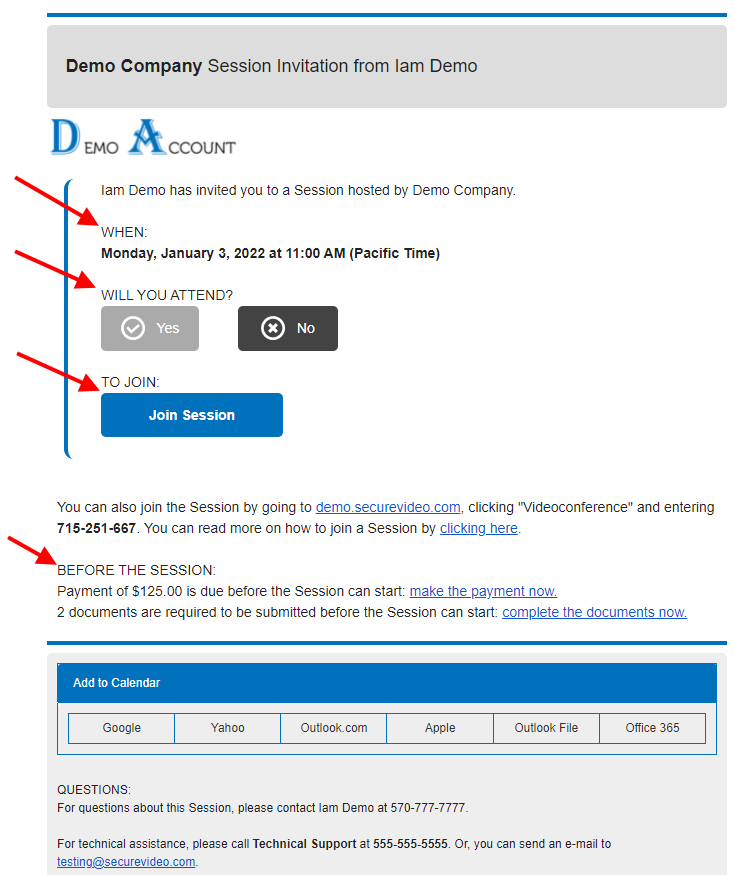
1. You, the session invitee, will receive an e-mail invitation that includes
- Time and date of the session
- Two RSVP options: Yes or No (will notify your host)
- Join Session link
- If e-documents are assigned, the number of assigned e-documents
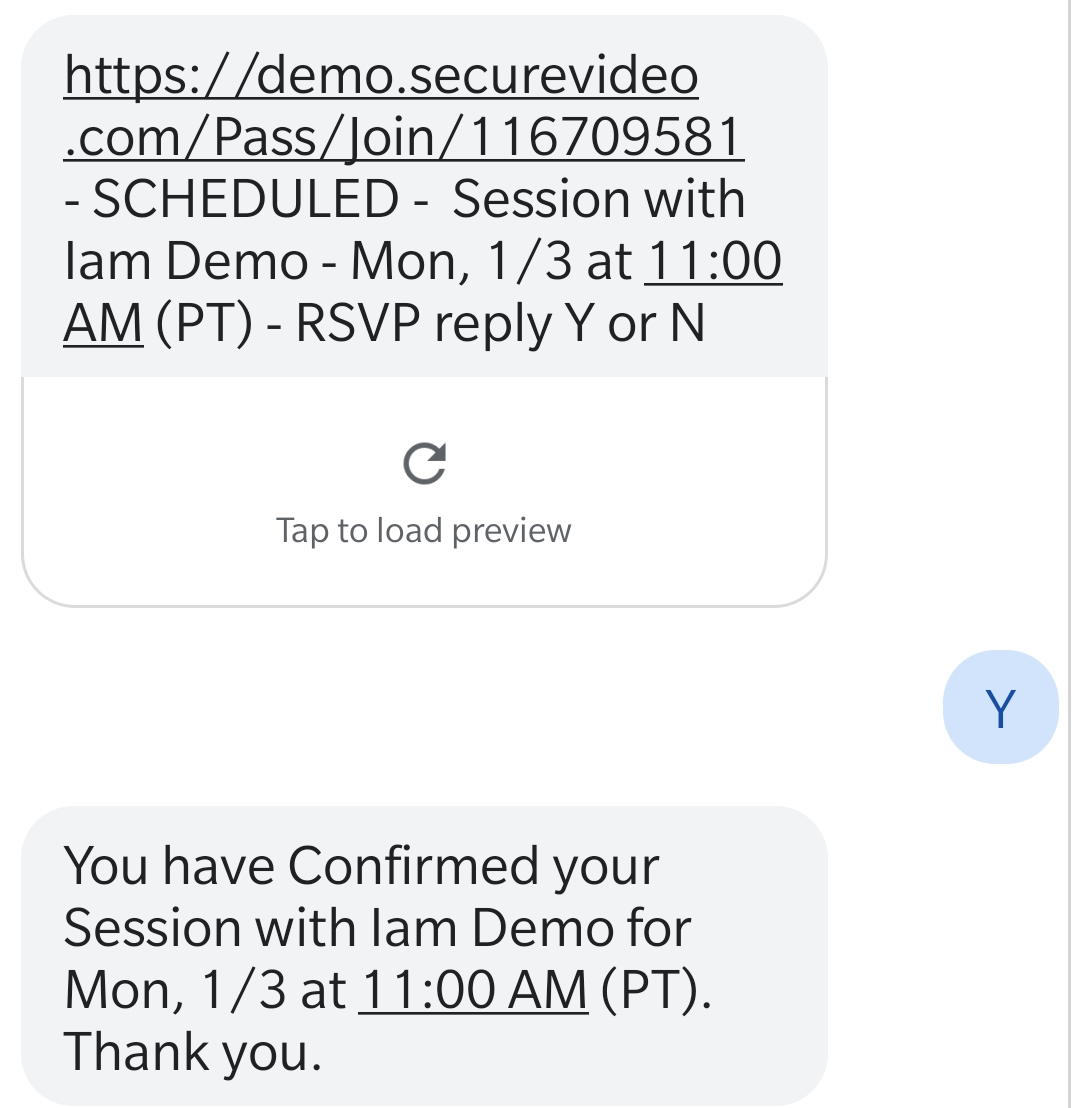
Or a text message:
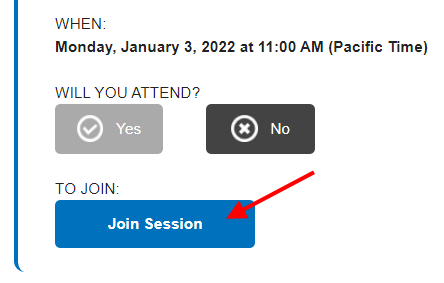
2. At the time of your session, use Join Session button in the e-mail.
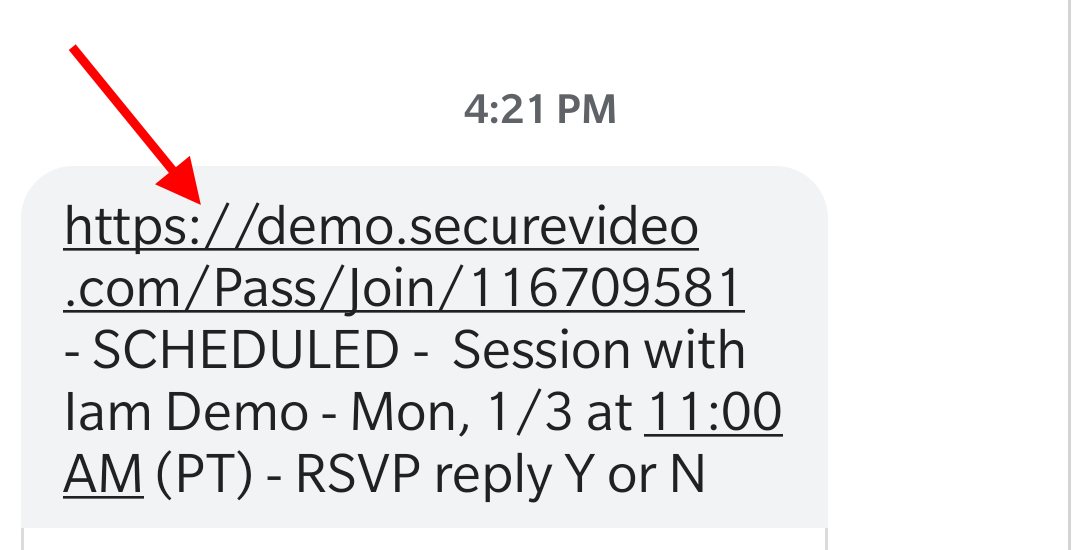
Or the link in the text message:
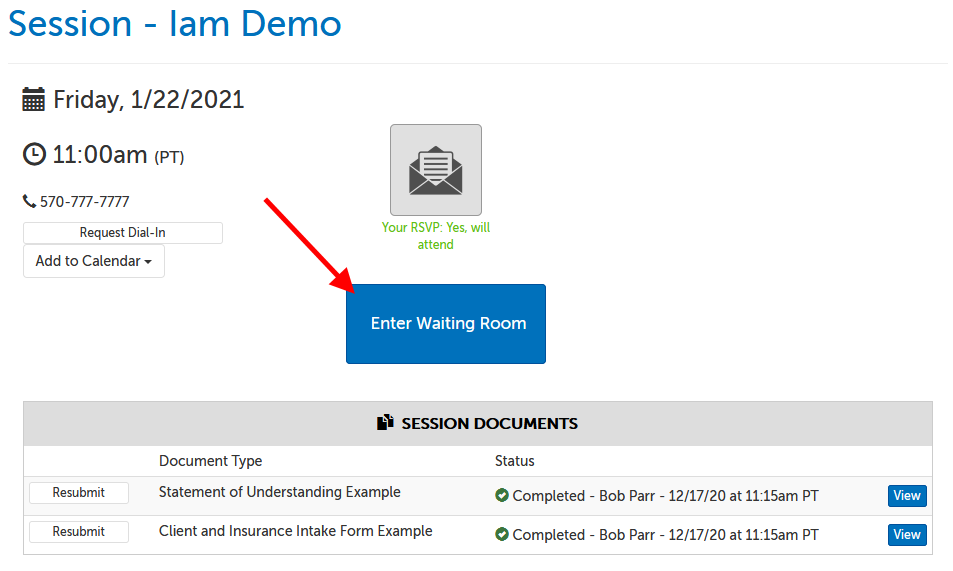
3. On the browser page that opens, use the "Enter Waiting Room" button.
4. Depending on your browser/operating system, you may have to give Zoom permission to launch.
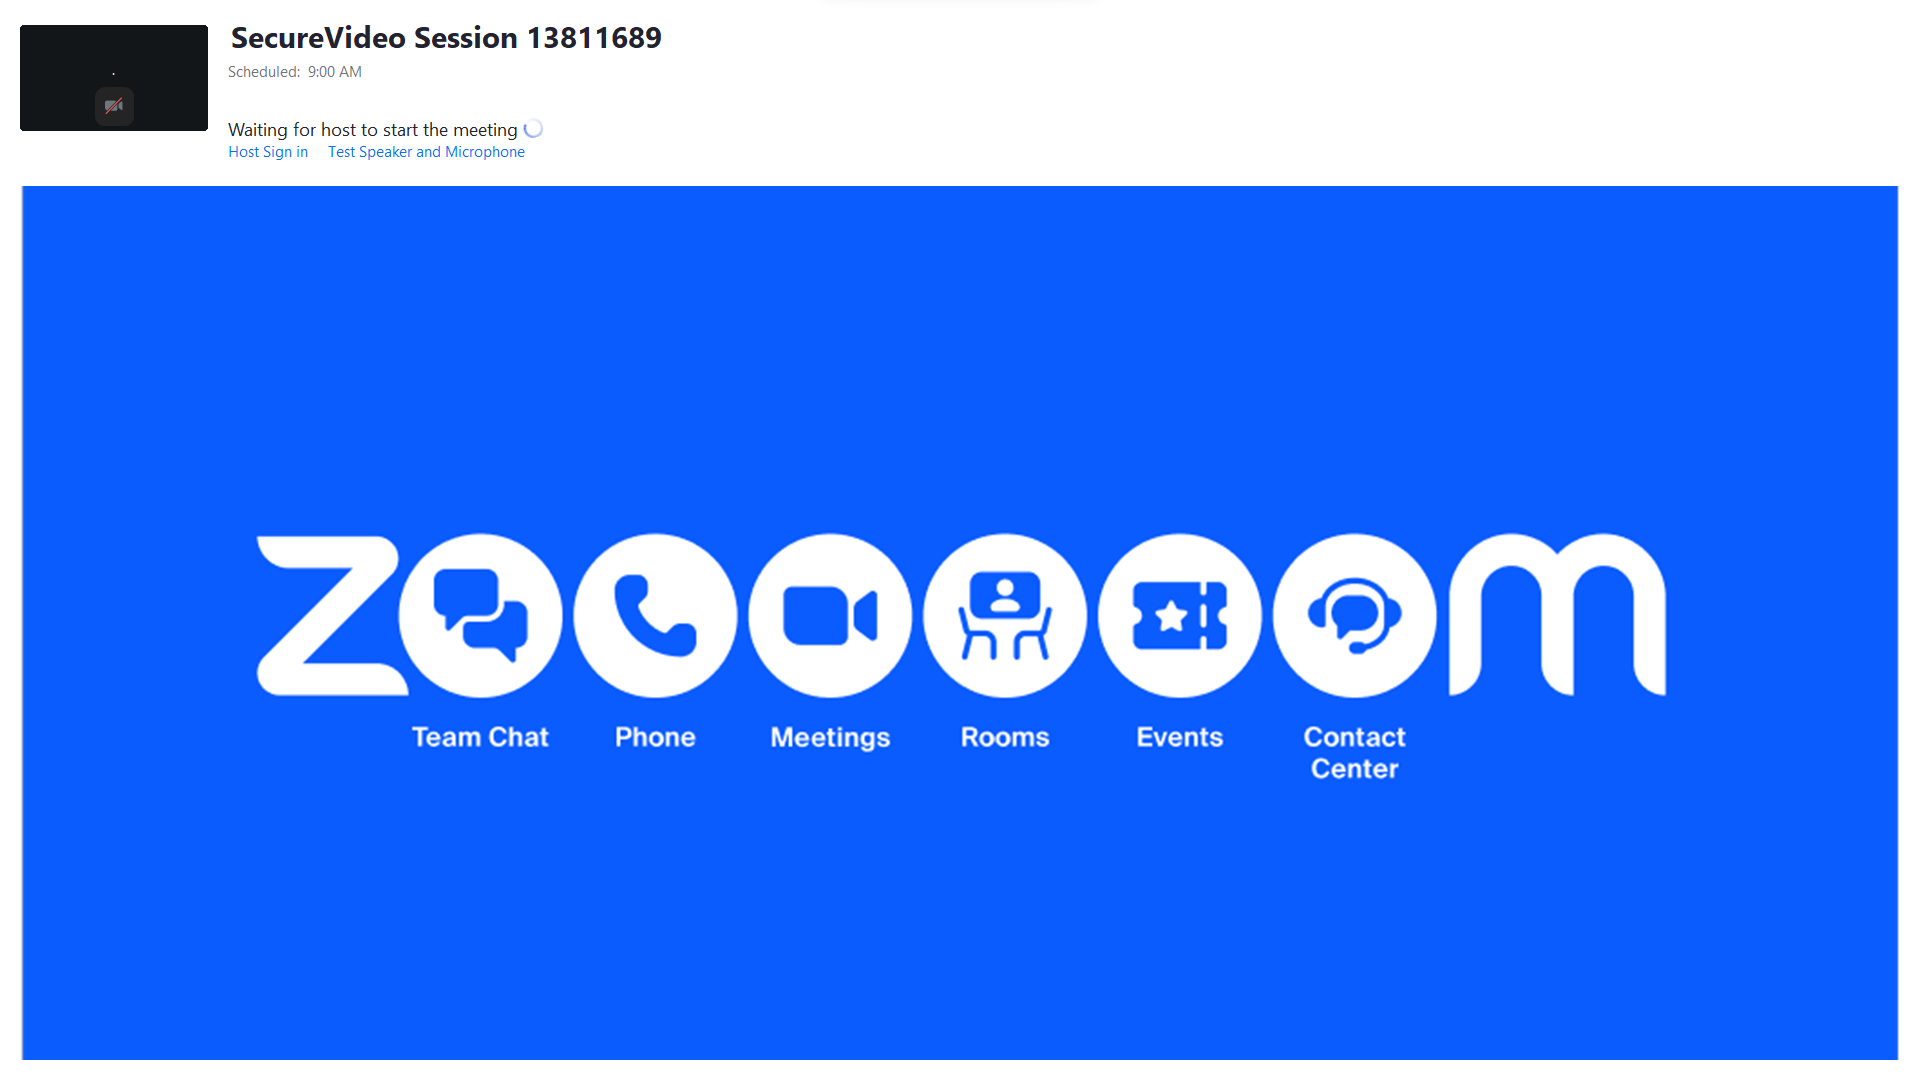
5. When Zoom has successfully launched, you may either see the Zoom window come up, or depending on your host's settings, you may see the below message. Wait for your host to connect to you.
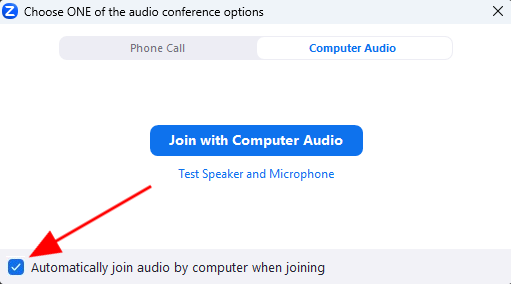
6. Once connected, you'll be prompted to choose how to enable your audio. Click "Join Audio by Computer" to use your computer's microphone and speakers.
- TIP: Check the box next to "Automatically join audio by computer when joining a meeting" before clicking "Join Audio by Computer" to avoid having to confirm this every time.
Session requires credit card payment
1. You, the session invitee, will receive an e-mail invitation that includes
- Time and date of the session
- Two RSVP options: Yes or No (will notify your host)
- Join Session link
- The amount that will be required to be paid by card before you enter the session
- If e-documents are assigned, the number of assigned e-documents
Or a text message:
2. At the time of your session, use Join Session button in the e-mail.
Or the link in the text message:
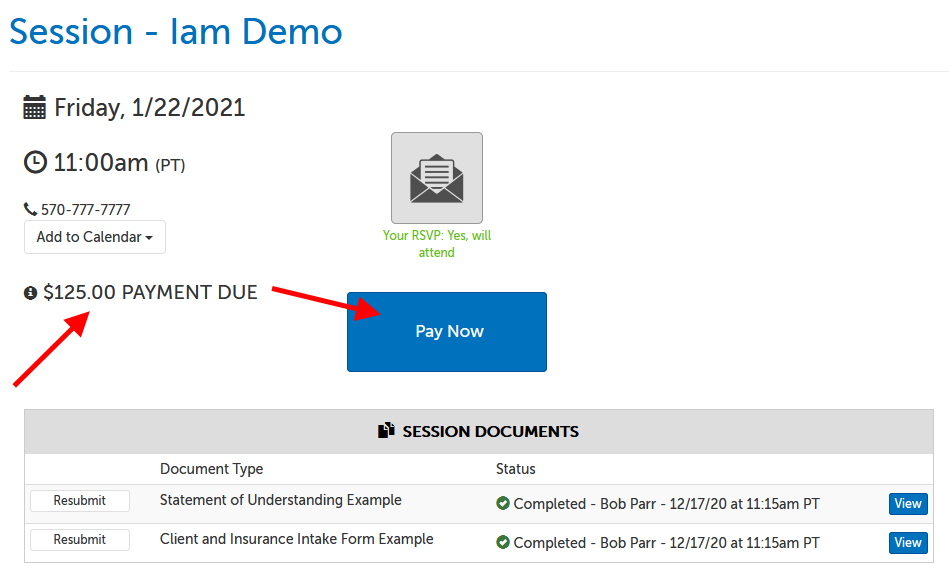
3. On the browser page that opens, click the "Pay" button.
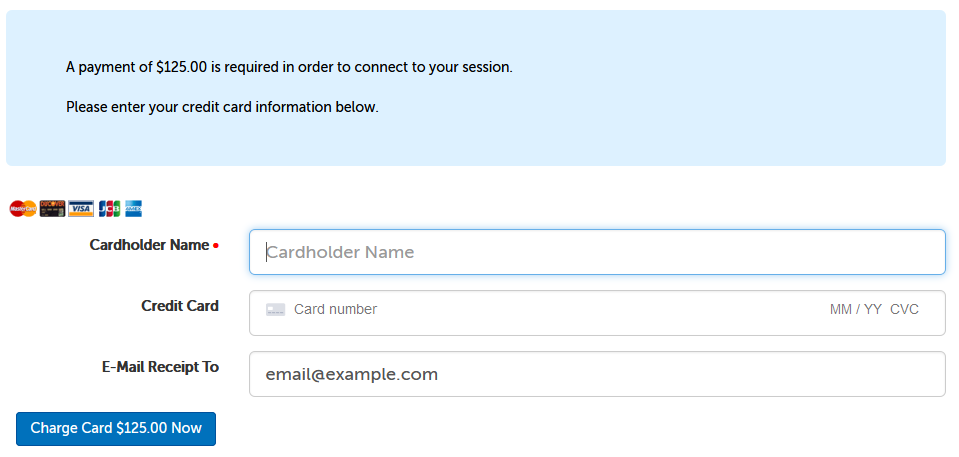
4. You'll be taken to a page to enter your credit card information. The last field will allow you to enter an email address to receive your email receipt. (If you received an email invite, this field will be autopopulated with the email address the invite was sent to, but you can change this if you would like it to go to another address, or delete it if you would not like a receipt.)
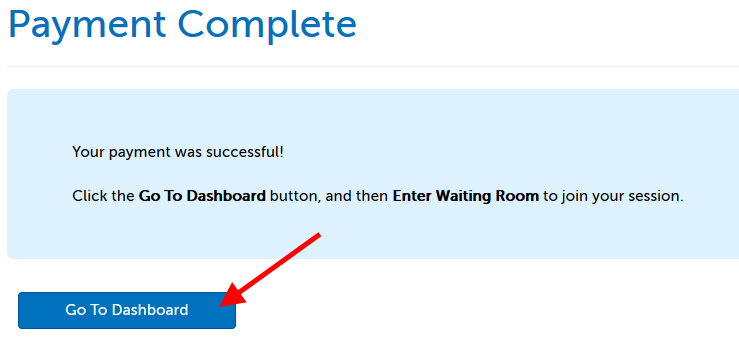
5. If the payment is successful, you will be taken to a confirmation page, "Payment Complete". Click on the "Go to Dashboard" button to continue.
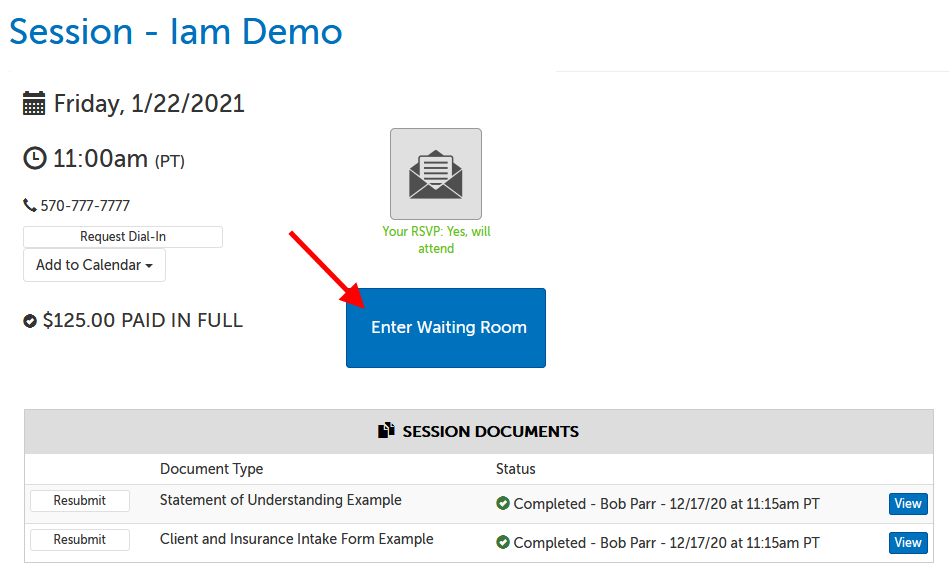
6. On the next page, click the "Enter Waiting Room" button.
7. Depending on your browser/operating system, you may have to give Zoom permission to launch.
8. When Zoom has successfully launched, you'll see either your own video image, or the message below, depending on your host's settings. In either case, please wait for your host to arrive.
9. Once connected, you'll be prompted to choose how to enable your audio. Click "Join Audio by Computer" to use your computer's microphone and speakers.
- TIP: Check the box next to "Automatically join audio by computer when joining a meeting" before clicking "Join Audio by Computer" to avoid having to confirm this every time.
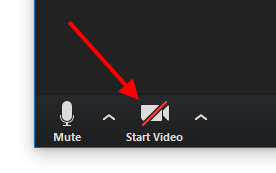
10. Your camera is off by default, but you can turn it on by clicking anywhere on the video app window and then clicking the "Start Video" button in the lower left hand corner.
This article was last reviewed by our Support team on July 21, 2023