Change camera or microphone device
The camera and microphone used by One-Click can be changed within the One-Click interface. The speaker used is your default computer speaker, and will need to be changed within your system settings.
1. Click on the "Settings" icon in the lower left hand corner of the window (while in a session).
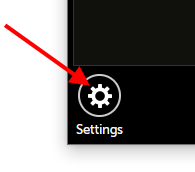
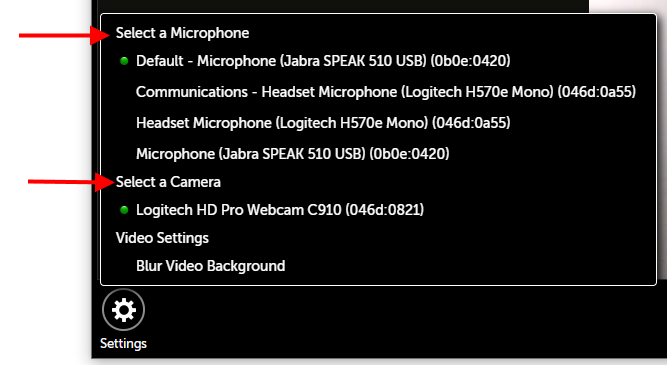
2. A menu will appear. You can change the selected microphone or camera by clicking one of the devices listed in the microphone or camera section.
Turn off/on camera
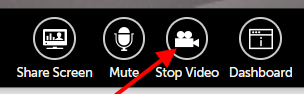
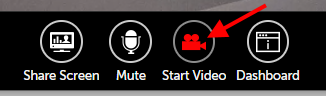
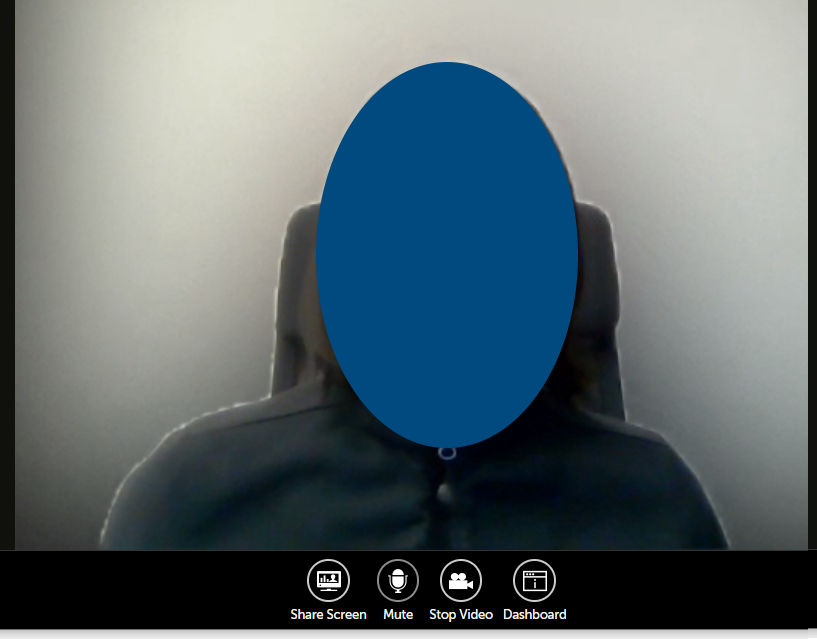
1. Click on the camera icon to toggle between enabling and disabling the selected camera. If you see a white icon that says "Stop Video", that means your camera is currently turned on (image on the left). If you see a red icon that says "Start Video", that means your camera is currently turned off (image on the right).
Turn off/on microphone
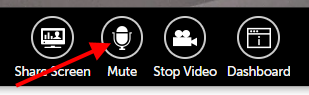
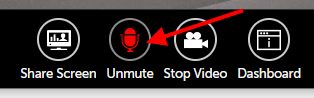
1. Click on the microphone icon to toggle between enabling and disabling the selected microhpone. If you see a white icon that says "Mute", that means your microphone is currently turned on (image on the left). If you see a red icon that says "Unmute", that means your microphone is currently turned off (image on the right).
Blur video background/Remove blur from video background
NOTE: this feature is only supported in Chromium-based browsers (for example, Chrome or Edge; this feature is not supported in Safari or Firefox).
1. Click on the "Settings" icon in the lower left hand corner of the window (while in a session).
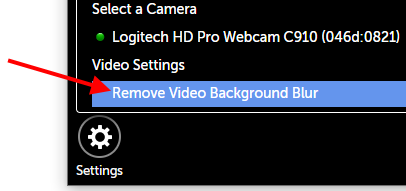
2. Click on "Blur Video Background" to start blurring your video background (image on the left) or "Remove Video Background Blur" to stop blurring your video background (image on the right).
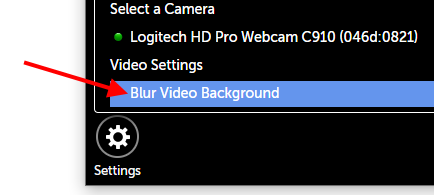
A background blur will make your background indistinct. (If you are moving fast, there may be a slight delay as the blur catches up.)
Dashboard button (minimize video)
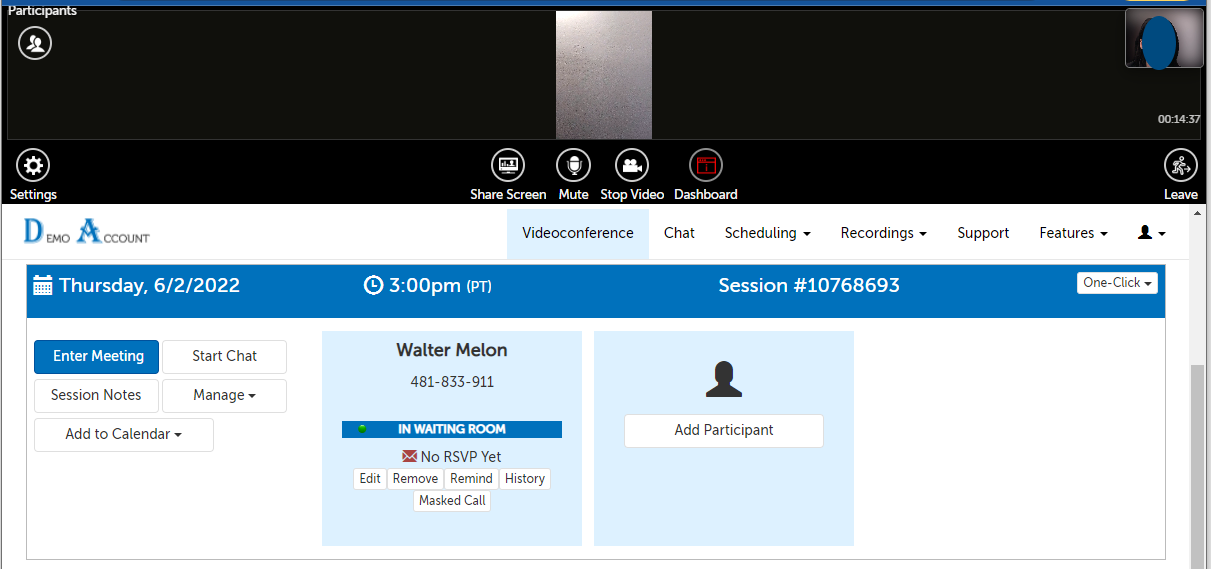
1. Click on the "Dashboard" button at the bottom of the video window.

2. The video window will shrink up to the top of the page so that you can view your dashboard and navigate through the rest of your SecureVideo account. Click the Dashboard button again (now red) when you want to return the video window to its normal size.
Share Screen
1. Click the "Share Screen" button.

2. Select what you would like to share.
- Entire Screen: this will share the entire screen. (If you have multiple monitors, you can select which monitor to share.) This may be useful if you want to share multiple windows at a time and/or share from different programs at the same time. Please note that any desktop notifications appearing on the desktop you share will be shared as well.
- Window: this will share the entire window selected. If it is a browser window, all tabs will also be shared.
- Chrome Tab: this will share a single tab from the window you currently have open, without sharing the names or contents of any other tab, even if you click on another tab.
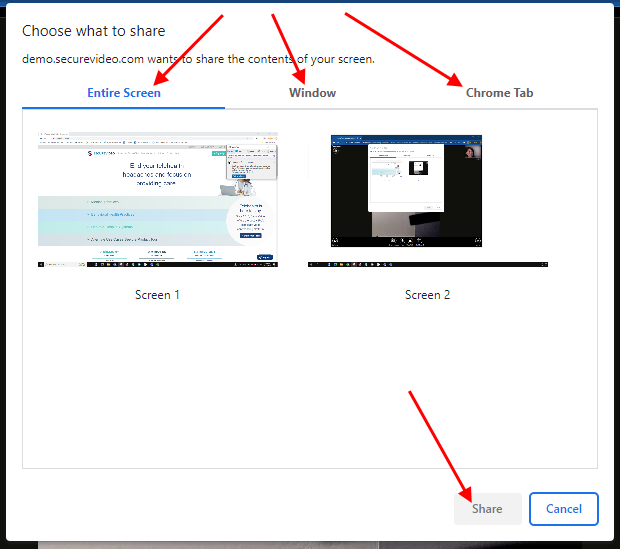
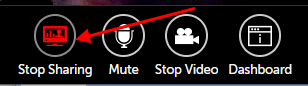
3. Use the "Stop Sharing" button to stop the share.
Leave meeting/End meeting for all
Please see the support article One-Click: Ending a videoconference session.
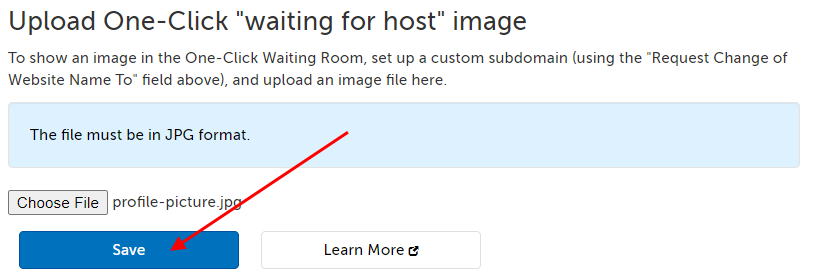
Waiting room image
If you have a custom subdomain set up with the branding feature, you can set a waiting room image for your participants to see while they wait for you to enter the session. You will need to be an Account Administrator to set up this feature.
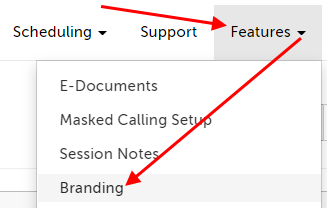
1. Click on the "Features" tab and select "Branding" from the drop down menu.
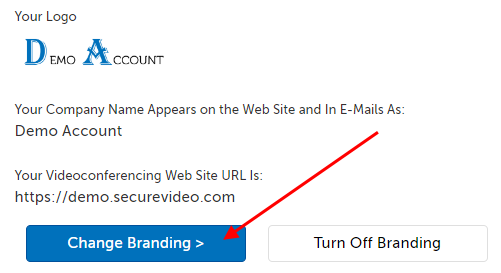
2. Click on the "Change Branding" button.
- If you do not have Branding set up yet, and want to add branding and the One-Click waiting room image at the same time, click "Add Branding".
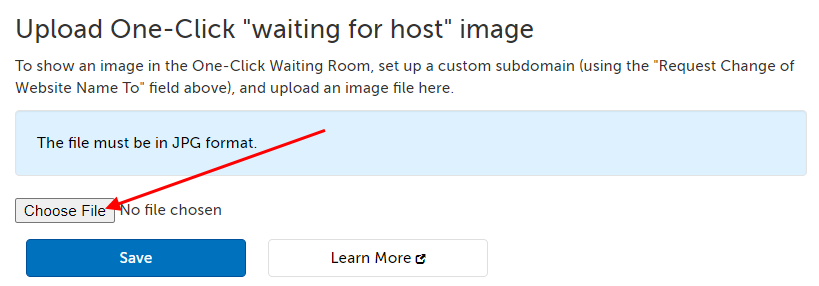
3. Click the "Choose File" button to select a JPG file from your device.
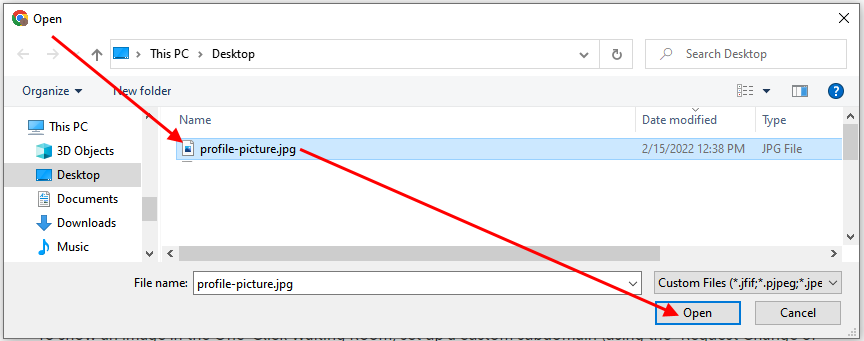
4. Select the file from your device and click "Open".
5. Click the "Save" button.
This article was last reviewed by our Support team on October 14, 2022.